Quick GPF dev env terminal with tmuxp
This is a short guide on setting up a quick dev env terminal for GPF with two panes for wdae and gpfjs.
Install tmux and tmuxp (https://github.com/tmux-python/tmuxp)
sudo apt-get update -y
sudo apt-get install -y tmuxp
Create a
dev-tmux.yamlfile in your home directory with the following content, adjusting the filepaths where necessary:
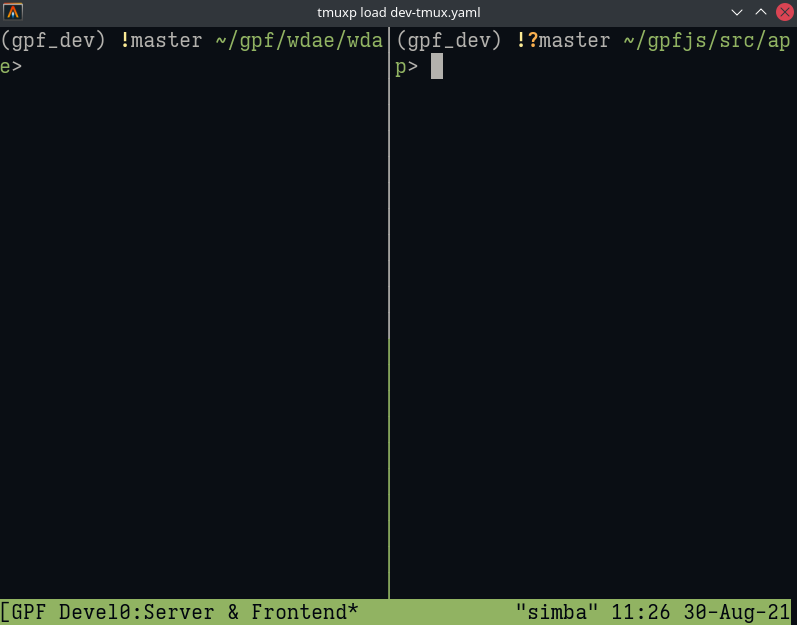
session_name: GPF Development
windows:
- window_name: Server & Frontend
  layout: even-horizontal
  shell_command_before:
    - source /home/$USER/setenv.sh   # set environment shell script
    - export TERM=screen-256color   # colors
  panes:
    - shell_command:
      - cd /home/$USER/gpf/wdae/wdae   # wdae
      - clear
    - shell_command:
      - cd /home/$USER/gpfjs/src/app   # gpfjs
      - clear
Run
tmuxp load dev-tmux.yamlfrom your home directory.
NOTE: If
cleardoes not completely clear your terminal, you can use reset at the cost of a slightly slower startup.
Quick build_setup - clears build-env/ folder, downloads latest successful build env and runs build_setup.sh. Example below is for gpf and gpf-e2e (2 panes). Remove shell_command sections if needed only for gpf
Create a
build-setup-tmux.yamlfile in your home directory:
session_name: gpf/gpf-e2e setup
windows:
- window_name: Server & Frontend
  layout: even-horizontal
  shell_command_before:
    - source /home/$USER/setenv.sh
    - export TERM=screen-256color
  panes:
    - shell_command:
      - setopt localoptions rmstarsilent
      - cd /home/$USER/gpf
      - reset
      - git pull --recurse-submodules
      - rm build-env/*
      - wget
          -q
          -O build-env/iossifovlab.gpf.combined-input.build-env.sh
          --auth-no-challenge
          --http-user=${jenkins_username}
          --http-password=${jenkins_auth_token}
          --no-cache
          https://nemo.seqpipe.org/job/iossifovlab/job/gpf/job/master/lastSuccessfulBuild/artifact/build-env/iossifovlab.gpf.combined-input.build-env.sh
      - ./build_setup.sh
    - shell_command:
      - setopt localoptions rmstarsilent
      - cd /home/$USER/gpf-e2e
      - reset
      - git pull --recurse-submodules
      - rm build-env/*
      - wget
        -q
        -O build-env/iossifovlab.gpf-e2e.combined-input.build-env.sh
        --auth-no-challenge
        --http-user=${jenkins_username}
        --http-password=${jenkins_auth_token}
        https://nemo.seqpipe.org/job/iossifovlab/job/gpf-e2e/job/master/lastSuccessfulBuild/artifact/build-env/iossifovlab.gpf-e2e.combined-input.build-env.sh
      - ./build_setup.sh
3. Generate Jenkins token by navigating to
https://nemo.seqpipe.org/user/${jenkins_username}/configure
and clicking on ‘Add new Token’ button under the ‘API Token’ section.
Replace ${jenkins_username} and ${jenkins_auth_token} in the wget commands with your jenkins username and token.
To run:
tmuxp load build-setup-tmux.yaml
User friendly tmux config:
~/.tmux.conf# switch pane on mouse click set -g mouse on # starting window index at 1, instead of 0 set -g base-index 1 # alt-arrow keys without prefix key to switch panes bind -n M-Left select-pane -L bind -n M-Right select-pane -R bind -n M-Up select-pane -U bind -n M-Down select-pane -D # switch panes with alt+q/e bind-key -n M-q select-pane -L bind-key -n M-e select-pane -R # create panes with e and s bind-key e split-window -h bind-key s split-window -v # theme set -g status-bg colour29 set -g status-fg white